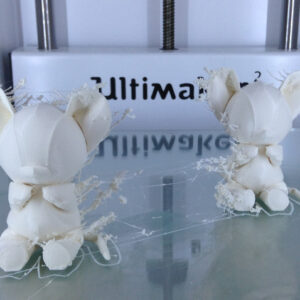
let me call this Natto-Print (natto=Japanese fermented soybeans that creates strings)…
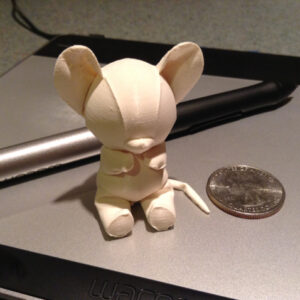
i’ve been printing with ColorFabb PLA and my print size has been mid to large with custom-normal resolution on Ultimaker2. Today I wanted to print something hi-res (pre-set in Cura) since I haven’t printed smaller size with ColorFabb. After first several layers were printed and confirmed that glue was adhering I killed the printing bed heat. What I’ve learned was that “print at once” option with this size, I should really slow the printing speed for proper cool down when the printer head jumps to next model. When I saw the string in between the models, I lowered the extruder heat from 210c (UM2 default setting) to 200c for ColorFabb PLA. That solved most of the problems but next time I’m going to do a hi-res print, I’ll print slower. Single print came out much prettier.
納豆プリントですね(汗)糸が...ColorFabb PLAで普段はちょっとカスタマイズしたスタンダードレゾリューションで中〜大サイズのプリントをやっていました。ColorFabbで小さくハイレゾレユーションはまだやったことがなっかたので今日は実験の日。スライサーCuraのハイレズpre-setでポチッとプリント出来ると思ったのですが、糸が引いた... “print at once”のオプションはPLAの一層一層を冷やすために複数のプリントをする時に使うのですが、小さいパーツはそれじゃ冷やしきれないみたいでした。隣のパーツにジャンプする時print&travel speed=50mm/s以下にしないと切り替え地点で糸とダマが出来ました。Ultimaker2のPLA温度は210cに設定さてているのでで200cまで落としたら少し糸がおさまりました(もう少し落とせるかも)。次回は焦らずゆっくりとプリントしましょう(笑)シングルプリントはパーツとパーツのジャンプが無かったのでわりと奇麗に出ました。

